Fun & Easy React JS Sample Project (Step-by-Step + Source Code)
Let’s build a React.js sample project from start to finish. I’ll walk you through the step-by-step process of building a React project for beginners, and I’ll also provide you with the source code and live site demo.
React Example Project: Card Memory Game from The Odin Project
As for the sample project, I’ll tackle the Card Memory Game - one of the projects in the famous Odin Project’s JavaScript curriculum. You’ll get to know more about the game in the requirements section below.
And if you don’t know what The Odin Project is, it’s one of the best resources out there for learning full-stack web development. The best part is, it’s free!
Without further ado, let’s get started.
Card Memory Game Requirements:
Here are the base requirements for this React example project from The Odin Project:
- Show cards with different items
- Each card should be clickable
- The player gains points by clicking on a card he/she hasn’t clicked before.
- On each click of a card, the cards re-appear in random order.
- Clicking on a card you’ve previously clicked on will reset the current score to zero.
- The game should show the current score, and “best score” which shows the best score that the player achieved so far.
General nice-to-have:
Here are other things you’d be wise to add whenever you’re building a web application:
- Responsiveness - the web app should adjust and be usable on different device screen sizes.
- Good UI design - aside from the bare-bones functionality, it should also look nice.
Project-specific advanced features:
Even though The Odin Project only mentioned the base requirements above, I saw that there are opportunities to add more features and functionality if you want to challenge yourself or make the project more exciting:
- Card theme options - you can add the ability to pick from a theme of cards, instead of playing only one theme of card forever. Then depending on the theme, the cards and overall board will change in content and design. Some ideas for themes would be other cartoon shows, characters from different video games, movies, and so on.
- Leaderboard - since this project is a game, showing top scores is a good idea. If you decided to implement the theme options above, you can even have one leaderboard for each theme. Otherwise, you can just have one global leaderboard.
- Light mode / dark mode - not a high-value feature, but some users might still prefer to use dark mode when interacting with your application 😄
Planning Phase
A good practice when tackling a new project is to plan first.
You might be thinking, “why is this important? I just want to code!”
Imagine building a house right away without deciding how you want it to look (design) and what you want it to have (features).
"Architects draw detailed plans before a brick is laid or a nail is hammered. But few programmers write even a rough sketch of what their programs will do before they start coding.” - Leslie Lamport, a Turing Award-winning computer scientist
Before writing a single line of code, you have to think of the following:
1. List features you want to implement
We already did so above.
2. How would it look like?
Draw a mockup or wireframe of the project. It doesn’t have to be the final design. Even drawing on paper is fine.
What’s important is you have a general design direction because it will influence how you’d like to structure your components.
3. Which components do you need?
For example, I’m already thinking that I’ll need the following React components right off the bat:
- Card - this component will be responsible for rendering the details of a card. It will receive a title and image property.
- Board - it will “contain” my cards. I’m thinking it will be responsible for the cards’ layout.
- Scoreboard - it will be responsible for displaying the current and best score.
- App - the root-most component. It will hold the Board and Scoreboard components. It will also handle the root layout.
4. How to structure the application?
What would be the file structure? Where to store images, fonts, etc.? How to structure the components? And so on. I’ll explain more about how I’d go about this step below.
Implementation: React JS example project step by step
1. Pre-requisites
Please make sure that you have at least a basic understanding of the concepts below. If you're not familiar with a concept, I linked resources where you can start learning it.
I won’t be teaching each technology in this write-up. But if you’re struggling with anything specific, you can reach out to me and I’ll do my best to help.
This React JS project implementation uses the following technologies:
- npm - An absolute beginner's guide to using npm
- HTML - HTML basics
- CSS - CSS basics
- JavaScript - Learn JavaScript and How to learn JavaScript for free
- React - Intro to React and How to learn React.js fast
- JSX - Intro to JSX
2. create-react-app
create-react-app is a helpful tool built by Facebook developers that allows you to create and run React projects quickly.
To create a new React project, use the command create-react-app. In my case, I decided to name my project “memory-card-game-odin-project”.
Run the command npx create-react-app memory-card-game-odin-project in your terminal if you want to code along.
After the command has finished running, a new folder called “memory-card-game-odin-project” will be created. This new folder will be in the directory where you ran the create-react-app command.
Navigate to the new folder and notice its contents:
- node_modules - this is a folder that contains all the dependencies of your project. You typically never have to look inside this folder.
- public - this folder contains the project’s public assets, including the entry point
index.html, the images, icons, fonts, etc. - src - this folder contains the source code, so all our React components and CSS files will live here.
- .gitignore - this is a file that tells git what to ignore so they don’t get pushed to your repository. You typically want to include node_modules here because it’s a very large folder. Other files you should tell git to ignore are your .env files - those should never make it to your repository. Thankfully, create-react-app already did this for us.
- package.json - this file is used to manage the project’s dependencies, scripts, and more.
- package.lock.json - this file is used to guarantee the exact version of the dependencies in the project. This is helpful when the source code is being run in different development environments.
3. Run the project
If you open the package.json file, you will see the scripts for the project, namely start, build, test, and eject.
You can run the project by running npm start in your terminal. Make sure that you’re in the project’s root directory (on the same level where package.json is in).
This will run the app in a new tab in your browser.
4. Clean up boilerplate
The project initially looks like this:
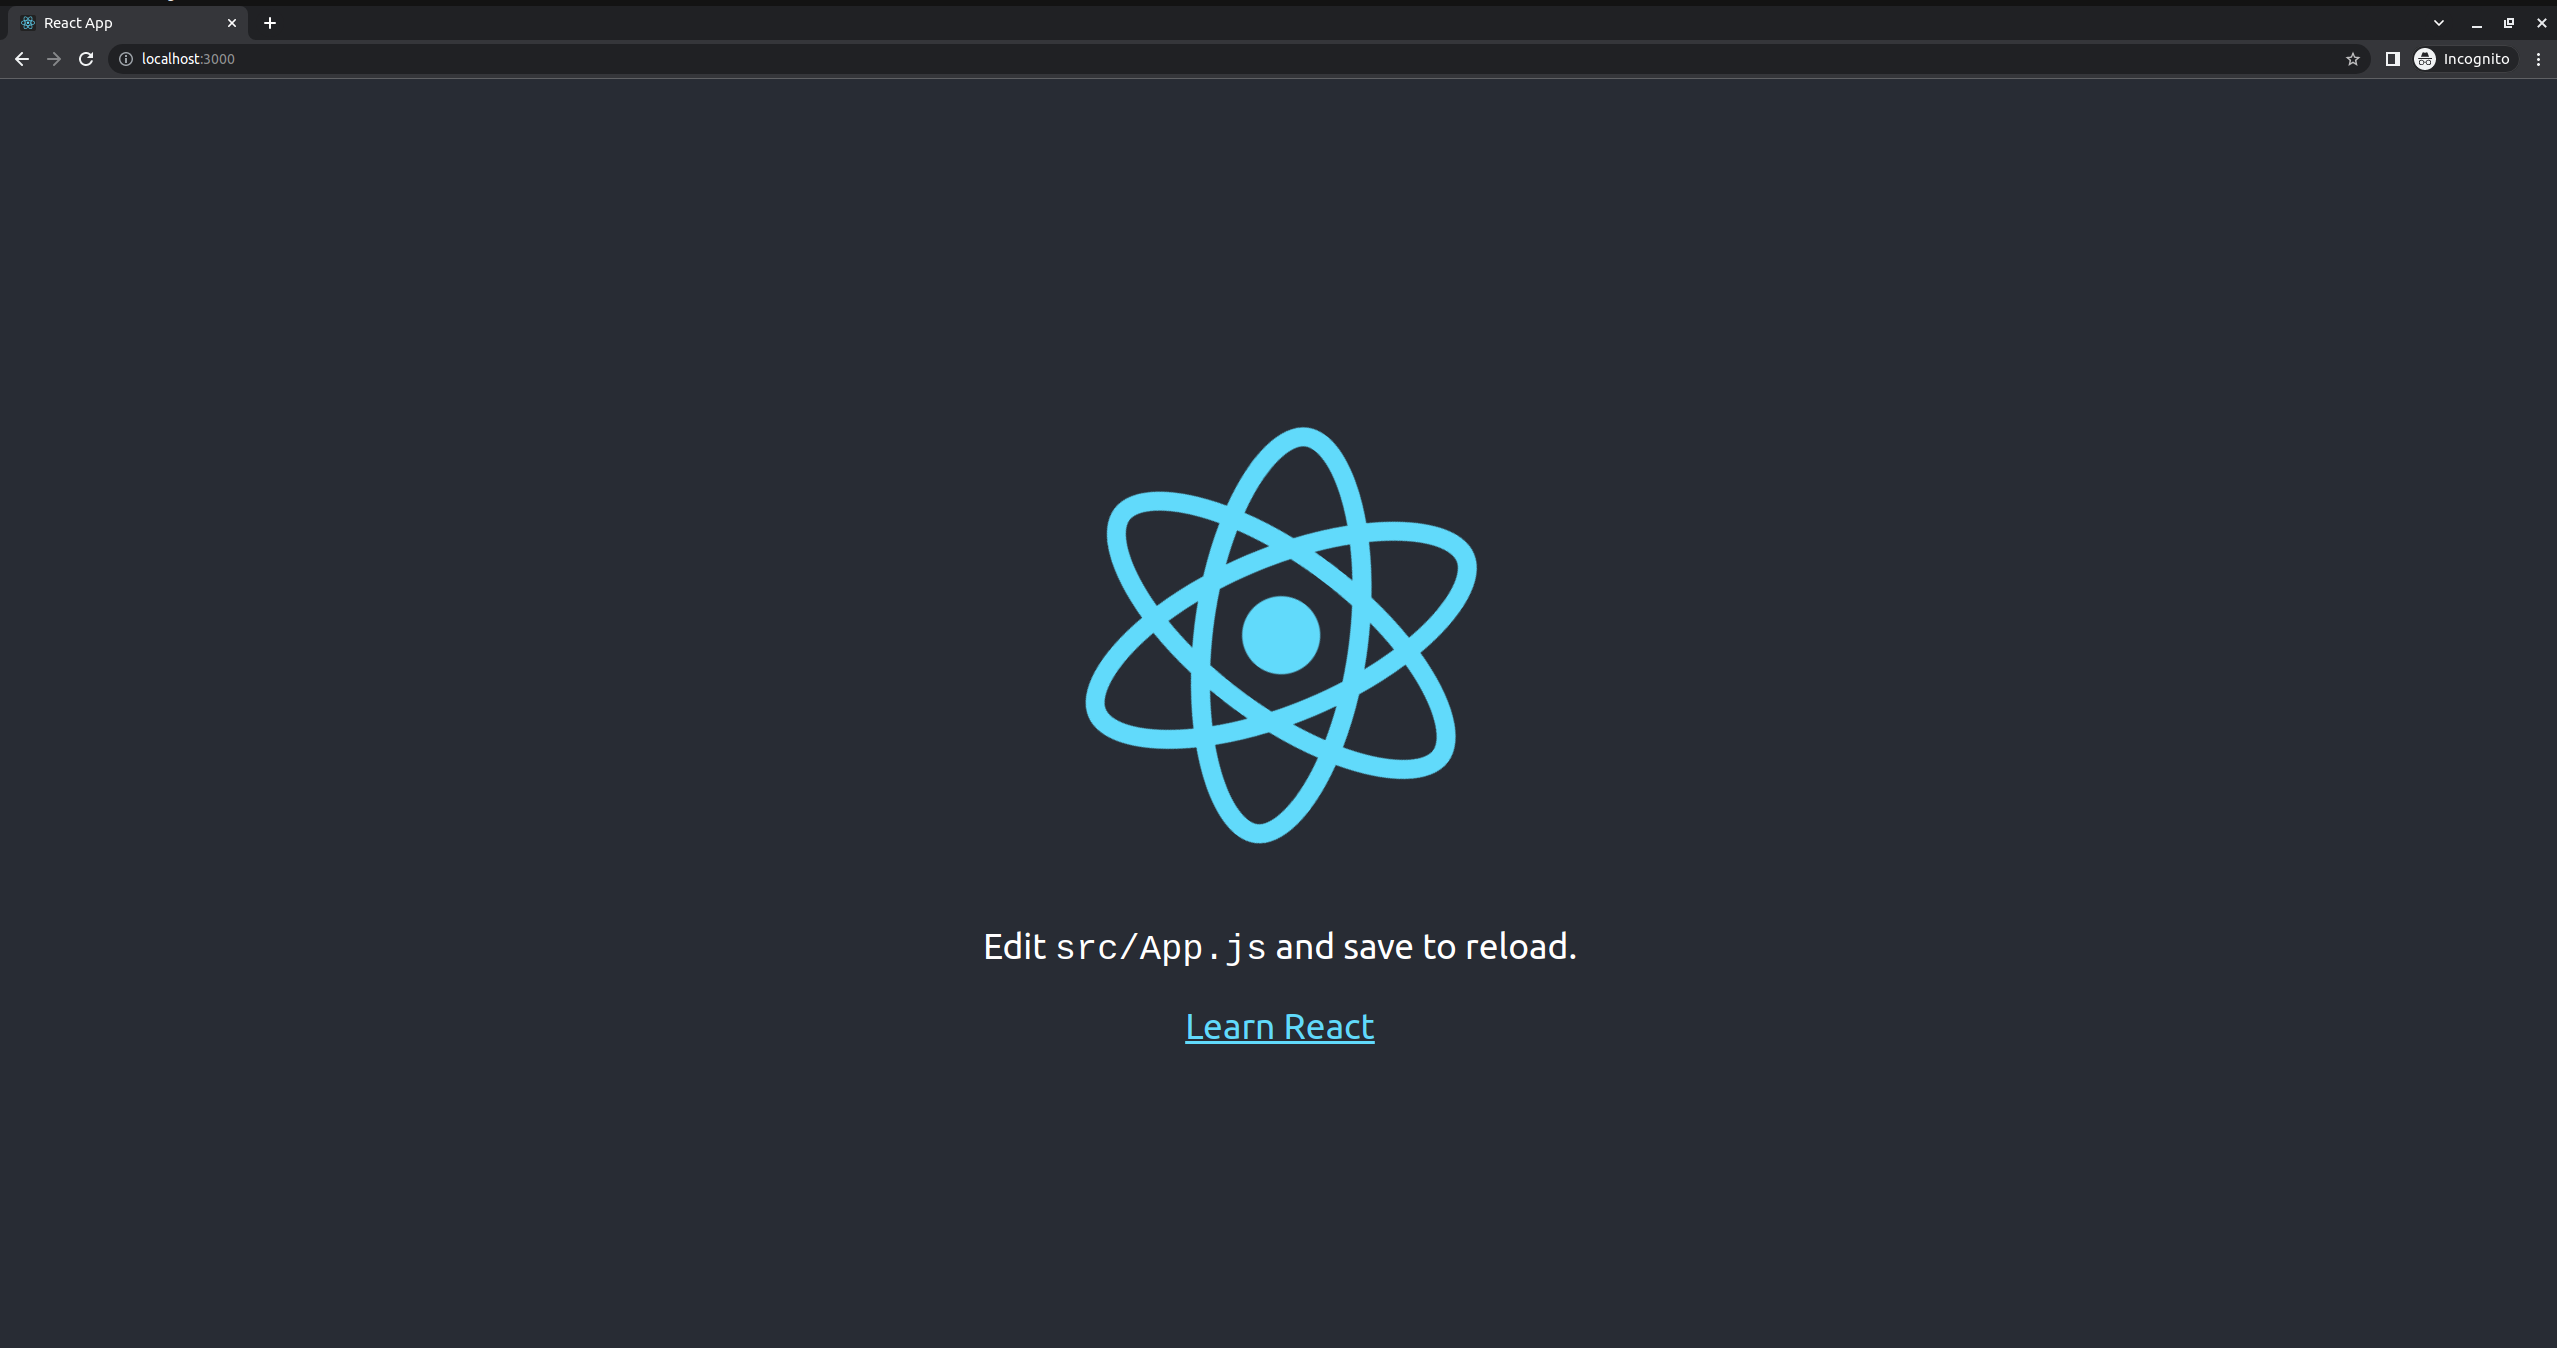
Start by cleaning up this boilerplate code to prepare your React app for the memory card game project.
The first thing I did is change the HTML <title> tag. Open index.html and change the <title> tag to the following:
<title>Card Memory Game</title>
You can also change the <meta> description tag, and add more metadata as you wish. It’s up to you and it depends on how much you care about the project’s SEO.
The next thing I always do is remove all the elements inside the App.js file inside the /src folder. That includes the spinning React.js logo, paragraph, and link to the React documentation. Basically, I removed everything inside the <header> tag:
import logo from './logo.svg';
import './App.css';

function App() {
  return (
    <div className="App">
      <header className="App-header">
-        <img src={logo} className="App-logo" alt="logo" />
-        <p>
-          Edit <code>src/App.js</code> and save to reload.
-        </p>
-        <a
-          className="App-link"
-          href="https://reactjs.org"
-          target="_blank"
-          rel="noopener noreferrer"
-        >
-          Learn React
-        </a>
      </header>
    </div>
  );
}

export default App;
Because of this, I no longer need the logo.svg inside the /src folder, so I deleted that file, and removed the import from App.js:
- import logo from './logo.svg';
import './App.css';

function App() {
  return (
    <div className="App">
      <header className="App-header"></header>
    </div>
  );
}

export default App;
I also no longer need the styles inside App.css, so I deleted its contents as well, but I did not delete the file. I’ll use this later.
I usually delete the contents of index.css because I typically use different fonts and base styles. But for this project, I decided to keep it.
After saving all the changes above, you should see your updated app in the browser tab. It should have a new title, and the page should be empty.
5. Set up the folder structure
Now let’s set up the project’s folder structure.
Inside the /src folder, create a new folder named “components”. This is where the React components will reside.
If you have a larger project, it’s also good to split these components into more sub-folders according to their Atomic design. Atomic design is a web design practice and is also used in structuring React applications.
Learn more: https://medium.com/@janelle.wg/atomic-design-pattern-how-to-structure-your-react-application-2bb4d9ca5f97
But since our example React project is quite small, and will only use a handful of components, it’s fine to just use the root /components folder. And since we won’t have multiple pages, we can use App.js as our one and only “page” component.
6. Start creating the components
1. The App component
Open App.js in the /src folder. Let’s load the data that will appear on the cards.
For the cards data, I decided to use Rick and Morty characters. Conveniently, there’s a free API that provides an endpoint to get data on Rick and Morty characters.
I decided to query that API endpoint directly from App.js because it’s a small project.
For larger projects, you’ll have complex data, so you’d want to use better practices using React’s useReducer hook and the Context API, or external libraries in order to query from a server, store that in a React state, and manage that state across the application.
I’m talking about Redux, React Query, SWR, or other alternatives.
But since this project is for beginners and the scope is quite small, it doesn’t make much sense to over-engineer date-fetching and state management. So the following will do:
import React from 'react';
import './App.css';

function App() {
  const [cardsData, setCardsData] = React.useState([]);

  async function fetchData() {
    fetch(`https://rickandmortyapi.com/api/character?page=${Math.floor(Math.random() * 41)}`)
      .then((response) => response.json())
      .then((data) => {
        setCardsData(data.results);
      });
  }

  React.useEffect(() => {
    fetchData();
  }, []);

  return (
    <div className="App">
      <header className="App-header"></header>
      <div className="App-body">
        {/* BOARD COMPONENT GOES HERE */}
      </div>
    </div>
  );
}

export default App;
Here’s what the code above does:
- Create a React state called
cardsDatawhere we’ll store data of Rick and Morty characters. Its initial value is set to an empty array. - Create a function named
fetchDatafor fetching the data from the API endpoint,https://rickandmortyapi.com/api/character- This function uses fetch API. You can also use axios.
- On each page load, I want to query a random page (between 1 and 40) from the API endpoint, so I added the following string to the query:
?page=${Math.floor(Math.random() * 41)} - Uses
.json()method to parse the API response into a JavaScript object. - Sets the resulting value to the
cardsDataReact state.
- Call the
fetchDatafunction that fetches the data from auseEffecthook.
If you want, you can console.log() the value of cardsData so you can confirm if the data-fetching and state-setting were successful. The value should be an array of a JavaScript objects containing details of random Rick and Morty characters.
Finally, add this to App.css:
.App {
    padding: 0.25rem 2rem 2rem;
    height: 100%;
    min-height: 100vh;
    background-color: #ebe1e1;
}
2. The Board component
Create a new folder inside the /components folder called “Board”. Inside this folder, create a new file Board.js:
import React from 'react';

export default function Board(props) {
    return (
        <div className='board'>
				{/* CONTENT GOES HERE */}
        </div>
    )
}
I planned that this component will manage the layout of the cards. So basically it’s really just a wrapper component.
It will take in the data as props and render the cards with that data in a wrapper div. This wrapper div will take care of the board’s layout.
So let’s style the Board component. Create a new file inside the /Board folder named “Board.css”:
.board {
    margin: 0 auto;
    display: grid;
    grid-template-columns: repeat(2, 1fr);
    gap: 1rem;
}

@media (min-width: 600px) {
    .board {
        grid-template-columns: repeat(3, 1fr);
        gap: 2rem;
    }
}

@media (min-width: 1024px) {
    .board {
        grid-template-columns: repeat(4, 1fr);
    }
}

@media (min-width: 1200px) {
    .board {
        grid-template-columns: repeat(6, 1fr);
    }
}

@media (min-width: 1871px) {
    .board {
        grid-template-columns: repeat(8, 1fr);
    }
}
Import this CSS file into the Board.js component:
import React from 'react';
+ import './Board.css';

export default function Board(props) {
    return (
        <div className='board'>
            {/* CONTENT GOES HERE */}
        </div>
    )
}
3. The Card component
Create a new folder inside the /components folder called “Card”. Inside this folder, create a new file Card.js:
import React from 'react';

export default function Card(props) {
    return (
        <div className='card'>
            <img src={props.imgUrl} alt={props.title} />
            <div className='card-title-container'>
                <span className='card-title'>{props.title.toUpperCase()}</span>
            </div>
        </div>
    )
}
This component receives the card title and image URL as props and renders those.
Before we connect all these components together, first give the card some styling.
Create a new file inside the /Card folder named “Card.css”:
.card {
    display: flex;
    flex-direction: column;
    justify-content: space-between;
    gap: 2rem;
    padding: 2rem 0 0;
    border-radius: 30px 30px;
    background-color: #1C232B;
    box-shadow: 0px 4px 20px 3px rgba(77,77,77,0.7);
    -webkit-box-shadow: 0px 4px 20px 3px rgba(77,77,77,0.7);
    -moz-box-shadow: 0px 4px 20px 3px rgba(77,77,77,0.7);
    transition: all 200ms ease-in-out;
    cursor: pointer;
}

.card:hover {
    box-shadow: 0px 4px 20px 3px rgb(18 18 18 / 70%);
    -webkit-box-shadow: 0px 4px 20px 3px rgb(18 18 18 / 70%);
    -moz-box-shadow: 0px 4px 20px 3px rgb(18 18 18 / 70%);
    transform: scale(1.03);
}

.card img {
    margin: 0 auto;
    width: 70%;
    height: auto;
    border-radius: 50%;
}

.card-title-container {
    display: flex;
    align-items: center;
    justify-content: center;
    padding: 1rem 2rem;
    background-color: #FAFBFD;
    border-radius: 0 0 30px 30px;
    text-align: center;
    min-height: 38px;
}

.card-title {
    font-weight: 800;
}
Import this CSS file into the Card.js component:
import React from 'react';
+ import './Card.css';

export default function Card(props) {
    return (
        <div className='card'>
            <img src={props.imgUrl} alt={props.title} />
            <div className='card-title-container'>
                <span className='card-title'>{props.title.toUpperCase()}</span>
            </div>
        </div>
    )
}
5. Connect all components together
Now that I have both Card and Board components, I can import them into their parent components.
Import the Board component inside App.js and render it inside the inner-most div:
import React from 'react';
import './App.css';
+ import Board from './components/Board/Board';

function App() {
  const [cardsData, setCardsData] = React.useState([]);

  async function fetchData() {
    fetch(`https://rickandmortyapi.com/api/character?page=${Math.floor(Math.random() * 41)}`)
      .then((response) => response.json())
      .then((data) => {
        setCardsData(data.results);
      });
  }

  React.useEffect(() => {
    fetchData();
  }, []);


  return (
    <div className="App">
      <header className="App-header"></header>
      <div className="App-body">
+        <Board data={cardsData} />
      </div>
    </div>
  );
}

export default App;
Import the Card component inside Board.js:
import React from 'react';
+ import Card from '../Card/Card';
import './Board.css';

export default function Board(props) {
    return (
        <div className='board'>
+           {props.data.map(cardItemData => <Card key={cardItemData.id} title={cardItemData.name} imgUrl={cardItemData.image} />)}
        </div>
    )
}
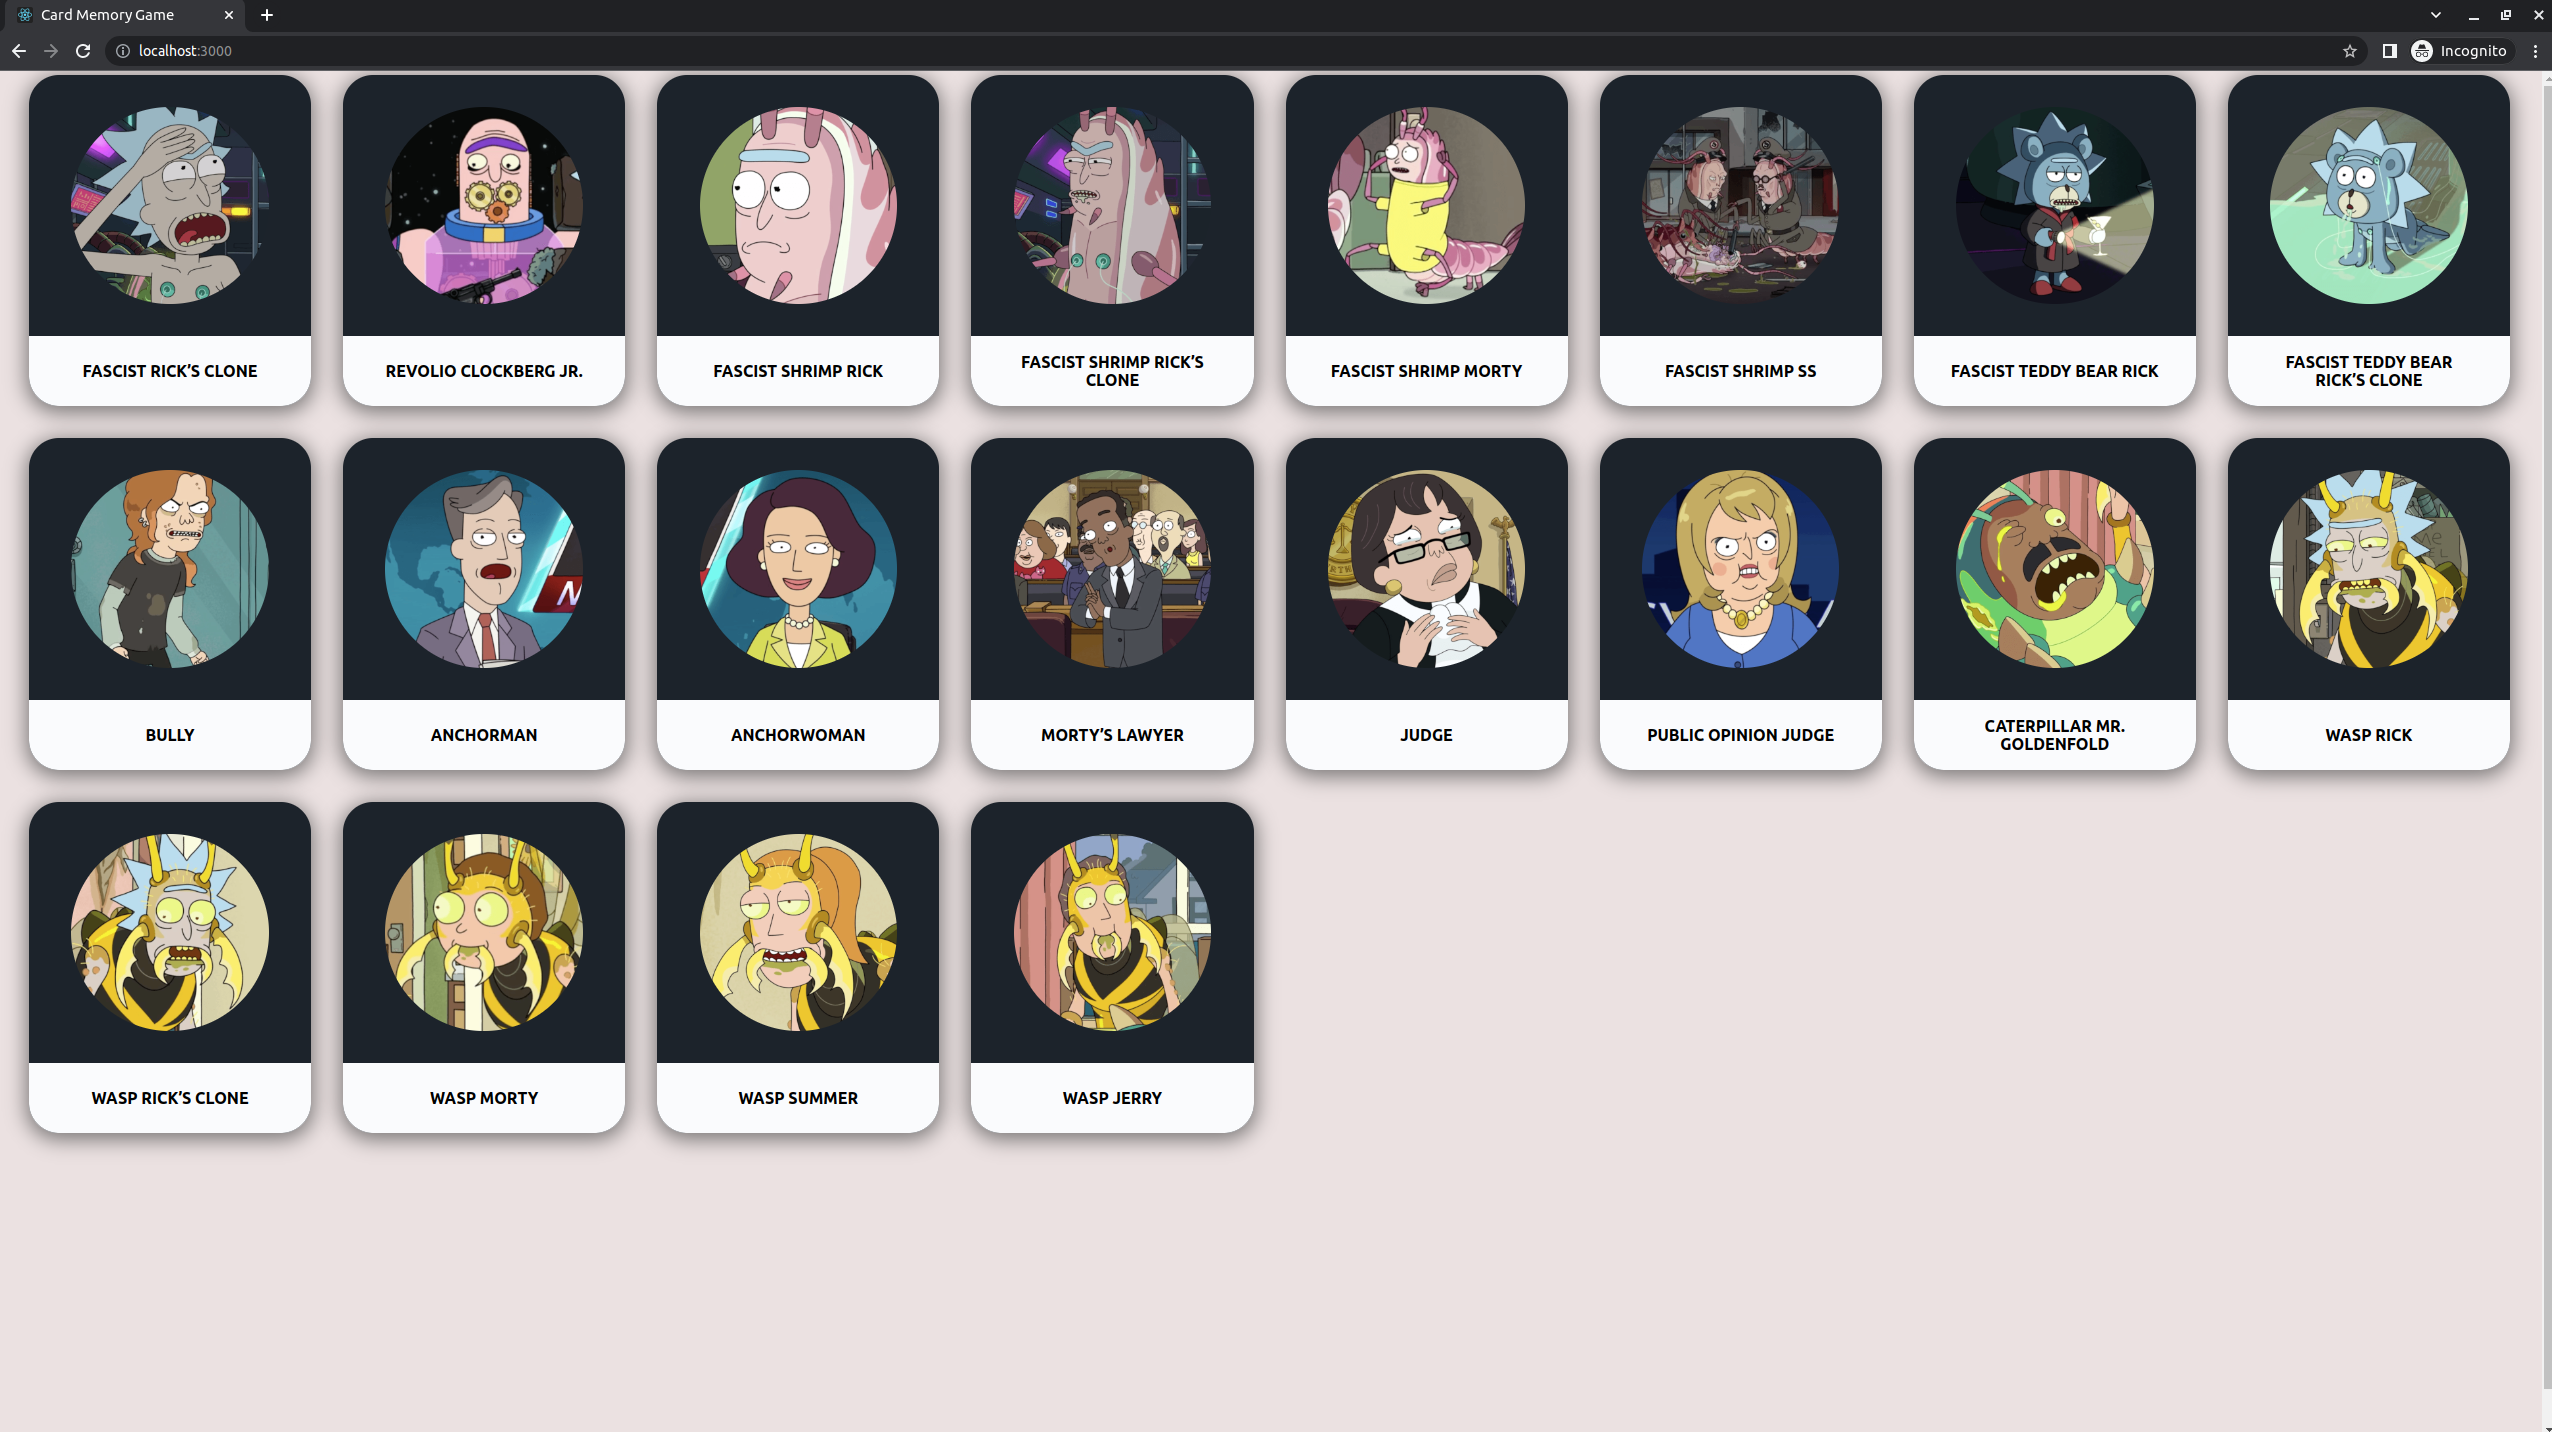
What the new line of code does is map through the array of Rick and Morty characters, and render a Card component for each item, while passing in the necessary props to the Card component.
If you look back at your browser, the app should now render the data as cards:
7. Implement the game logic
Let’s go back to the game mechanics. The objective of the game is to get as many points as possible by clicking on a card that you haven’t clicked on before.
On each card click, the current score either adds 1 point or resets to zero, depending on whether or not the card has been previously clicked. The best score also updates accordingly. Lastly, the board always resets and displays the cards in random order.
This means we need to keep track of which cards have already been clicked. Thankfully, the Rick and Morty API also returns a unique ID for each character. We can use the ID to keep track of which cards have been clicked or not by storing clicked card IDs in an array.
Then on each click of a new card, we search for the clicked card’s ID in this array. If this card ID is in the collection, then reset the current score to zero. Otherwise, add one point to it.
It’s also important to reset the array that tracks clicked IDs to an empty array each time we reset the current score to zero.
Also, on each correct click, we need to check if the new score is higher than the best score. If yes, then set the best score to this new score.
Lastly, on each correct click, we need to add the clicked card’s ID to the array that tracks clicked IDs.
Finally, we shuffle the cards array to a random order.
Phew! That’s a lot to take in, so here’s the pseudocode:
IF clicked card ID is in clicked cards array THEN
    set current score to 0
    set clicked cards array to empty
ELSE
    set current score to (current score + 1)
    IF (current score + 1) is greater than best score THEN
        set best score to (current score + 1)
    END IF
    set clicked cards array to (current clicked cards array + clicked card ID)
END IF
shuffle the cards in random order
Notice that our algorithm above involves setting a React state that is in App.js. I’m talking about the cardsData state which will be updated in order to shuffle the cards on each click.
That’s why I decided to put this function inside App.js.
But first, add the new states needed for this calculation:
import React from 'react';
import './App.css';
import Board from './components/Board/Board';

function App() {
  const [cardsData, setCardsData] = React.useState([]);
+  const [clickedCardIds, setClickedCardIds] = React.useState([]);
+  const [currentScore, setCurrentScore] = React.useState(0);
+  const [bestScore, setBestScore] = React.useState(0);

  async function fetchData() {
    fetch(`https://rickandmortyapi.com/api/character?page=${Math.floor(Math.random() * 41)}`)
      .then((response) => response.json())
      .then((data) => {
        setCardsData(data.results);
      });
  }

  React.useEffect(() => {
    fetchData();
  }, []);

  return (
    <div className="App">
      <header className="App-header"></header>
      <div className="App-body">
        <Board data={cardsData} />
      </div>
    </div>
  );
}

export default App;
Then add the function that performs our algorithm on each card click:
import React from 'react';
import './App.css';
import Board from './components/Board/Board';

function App() {
  const [cardsData, setCardsData] = React.useState([]);
  const [clickedCardIds, setClickedCardIds] = React.useState([]);
  const [currentScore, setCurrentScore] = React.useState(0);
  const [bestScore, setBestScore] = React.useState(0);

  async function fetchData() {
    fetch(`https://rickandmortyapi.com/api/character?page=${Math.floor(Math.random() * 41)}`)
      .then((response) => response.json())
      .then((data) => {
        setCardsData(data.results);
      });
  }

  React.useEffect(() => {
    fetchData();
  }, []);

+  function onCardClick(cardId) {
+    if (clickedCardIds.includes(cardId)) {
+      setCurrentScore(0);
+      setClickedCardIds([]);
+    } else {
+      setCurrentScore(currentScore + 1);
+
+      if (currentScore + 1 > bestScore) {
+        setBestScore(currentScore + 1);
+      }
+
+      setClickedCardIds([...clickedCardIds, cardId]);
+    }
+  }

  return (
    <div className="App">
      <header className="App-header"></header>
      <div className="App-body">
        <Board data={cardsData} />
      </div>
    </div>
  );
}

export default App;
Notice that the onCardClick function is missing the final requirement which is to shuffle the cards in random order on each click.
For that, create a helper function that takes in an array as an argument, then returns a shuffled version of it.
In the /src folder, create a new file called utils.js:
export function shuffleArray(array) {
    const arrayClone = [...array];
    for (let i = arrayClone.length - 1; i > 0; i--) {
        const j = Math.floor(Math.random() * (i + 1));
        [arrayClone[i], arrayClone[j]] = [arrayClone[j], arrayClone[i]];
    }
    return arrayClone;
}
Import this function in App.js and use it to shuffle the array of cards at the end of onCardClick function.
I also decided to use this function on the API result before setting it to the cardsData state. That’s because I noticed that the characters from the API are usually in alphabetical order. That’s not ideal if I want the initial cards to already be in random order once the page loads:
import React from 'react';
import './App.css';
import Board from './components/Board/Board';
+ import { shuffleArray } from './utils';

function App() {
  const [cardsData, setCardsData] = React.useState([]);
  const [clickedCardIds, setClickedCardIds] = React.useState([]);
  const [currentScore, setCurrentScore] = React.useState(0);
  const [bestScore, setBestScore] = React.useState(0);

  async function fetchData() {
    fetch(`https://rickandmortyapi.com/api/character?page=${Math.floor(Math.random() * 41)}`)
      .then((response) => response.json())
      .then((data) => {
+        const shuffledArray = shuffleArray(data.results);
+        setCardsData(shuffledArray);
      });
  }

  React.useEffect(() => {
    fetchData();
  }, []);

  function onCardClick(cardId) {
    if (clickedCardIds.includes(cardId)) {
      setCurrentScore(0);
      setClickedCardIds([]);
    } else {
      setCurrentScore(currentScore + 1);

      if (currentScore + 1 > bestScore) {
        setBestScore(currentScore + 1);
      }

      setClickedCardIds([...clickedCardIds, cardId]);
    }
+
+    const shuffledArray = shuffleArray(cardsData);
+    setCardsData(shuffledArray);
  }

  return (
    <div className="App">
      <header className="App-header</header>
      <div className="App-body">
        <Board data={cardsData} onCardClick={onCardClick} />
      </div>
    </div>
  );
}

export default App;
Now we need to pass the onCardClick function to the Card component. First, we have to pass it to the Board component:
import React from 'react';
import './App.css';
import Board from './components/Board/Board';
import { shuffleArray } from './utils';

function App() {
  const [cardsData, setCardsData] = React.useState([]);
  const [clickedCardIds, setClickedCardIds] = React.useState([]);
  const [currentScore, setCurrentScore] = React.useState(0);
  const [bestScore, setBestScore] = React.useState(0);

  async function fetchData() {
    fetch(`https://rickandmortyapi.com/api/character?page=${Math.floor(Math.random() * 41)}`)
      .then((response) => response.json())
      .then((data) => {
        const shuffledArray = shuffleArray(data.results);
        setCardsData(shuffledArray);
      });
  }

  React.useEffect(() => {
    fetchData();
  }, []);

	function onCardClick(cardId) {
    if (clickedCardIds.includes(cardId)) {
      setCurrentScore(0);
      setClickedCardIds([]);
    } else {
      setCurrentScore(currentScore + 1);

      if (currentScore + 1 > bestScore) {
        setBestScore(currentScore + 1);
      }

      setClickedCardIds([...clickedCardIds, cardId]);
    }

    const shuffledArray = shuffleArray(cardsData);
    setCardsData(shuffledArray);
  }

  return (
    <div className="App">
      <header className="App-header"></header>
      <div className="App-body">
+        <Board data={cardsData} onCardClick={onCardClick} />
      </div>
    </div>
  );
}

export default App;
Then pass this function from the Board to the Card component:
import React from 'react';
import Card from '../Card/Card';
import './Board.css';

export default function Board(props) {
    return (
        <div className='board'>
+            {props.data.map(cardItemData => <Card key={cardItemData.id} title={cardItemData.name} imgUrl={cardItemData.image} cardId={cardItemData.id} onCardClick={props.onCardClick} />)}
        </div>
    )
}
Notice that I also passed the cardId prop to the Card component. This value is simply coming from the API.
We want the cards to be clickable, so inside Card.js, add an onClick event handler to the parent div:
import React from 'react';
import './Card.css';

export default function Card(props) {
    return (
+        <div className='card' onClick={() => props.onCardClick(props.cardId)}>
            <img src={props.imgUrl} alt={props.title} />
            <div className='card-title-container'>
                <span className='card-title'>{props.title.toUpperCase()}</span>
            </div>
        </div>
    )
}
Save your changes and click around the cards. Notice that they successfully jumble randomly on each click.
But now we need to show the current and best scores.
8. Implement the Scoreboard
Don’t worry, I didn’t forget the Scoreboard component. It just made more sense to tackle it in this step.
You know the drill. Create a new folder inside the /components folder called “Scoreboard”. Inside this folder, create a new file Scoreboard.js. This time, let’s automatically import the CSS file and create that file afterward:
import React from 'react';
import './Scoreboard.css';

export default function Scoreboard(props) {
    return (
        <div className='scoreboard'>
            <div className='current-score'>Current score: {props.currentScore}</div>
            <div className='best-score'>Best score: {props.bestScore}</div>
        </div>
    )
}
.scoreboard {
    margin: 1.5rem 0;
    display: flex;
    flex-direction: column;
    gap: 0.5rem;
    font-size: 18px;
}
Then import the Scoreboard component inside App.js and render it above the Board component.
Pass the necessary props to the Scoreboard component which is currentScore and bestScore. The values of these props is coming from the React states with the same name in App.js:
import React from 'react';
import './App.css';
import Board from './components/Board/Board';
+ import Scoreboard from './components/Scoreboard/Scoreboard';
import { shuffleArray } from './utils';

function App() {
  const [cardsData, setCardsData] = React.useState([]);
  const [clickedCardIds, setClickedCardIds] = React.useState([]);
  const [currentScore, setCurrentScore] = React.useState(0);
  const [bestScore, setBestScore] = React.useState(0);

  async function fetchData() {
    fetch(`https://rickandmortyapi.com/api/character?page=${Math.floor(Math.random() * 41)}`)
      .then((response) => response.json())
      .then((data) => {
        const shuffledArray = shuffleArray(data.results);
        setCardsData(shuffledArray);
      });
  }

  React.useEffect(() => {
    fetchData();
  }, []);

	function onCardClick(cardId) {
    if (clickedCardIds.includes(cardId)) {
      setCurrentScore(0);
      setClickedCardIds([]);
    } else {
      setCurrentScore(currentScore + 1);

      if (currentScore + 1 > bestScore) {
        setBestScore(currentScore + 1);
      }

      setClickedCardIds([...clickedCardIds, cardId]);
    }

    const shuffledArray = shuffleArray(cardsData);
    setCardsData(shuffledArray);
  }

  return (
    <div className="App">
      <header className="App-header"></header>
      <div className="App-body">
+		<Scoreboard currentScore={currentScore} bestScore={bestScore} />
        <Board data={cardsData} onCardClick={onCardClick} />
      </div>
    </div>
  );
}

export default App;
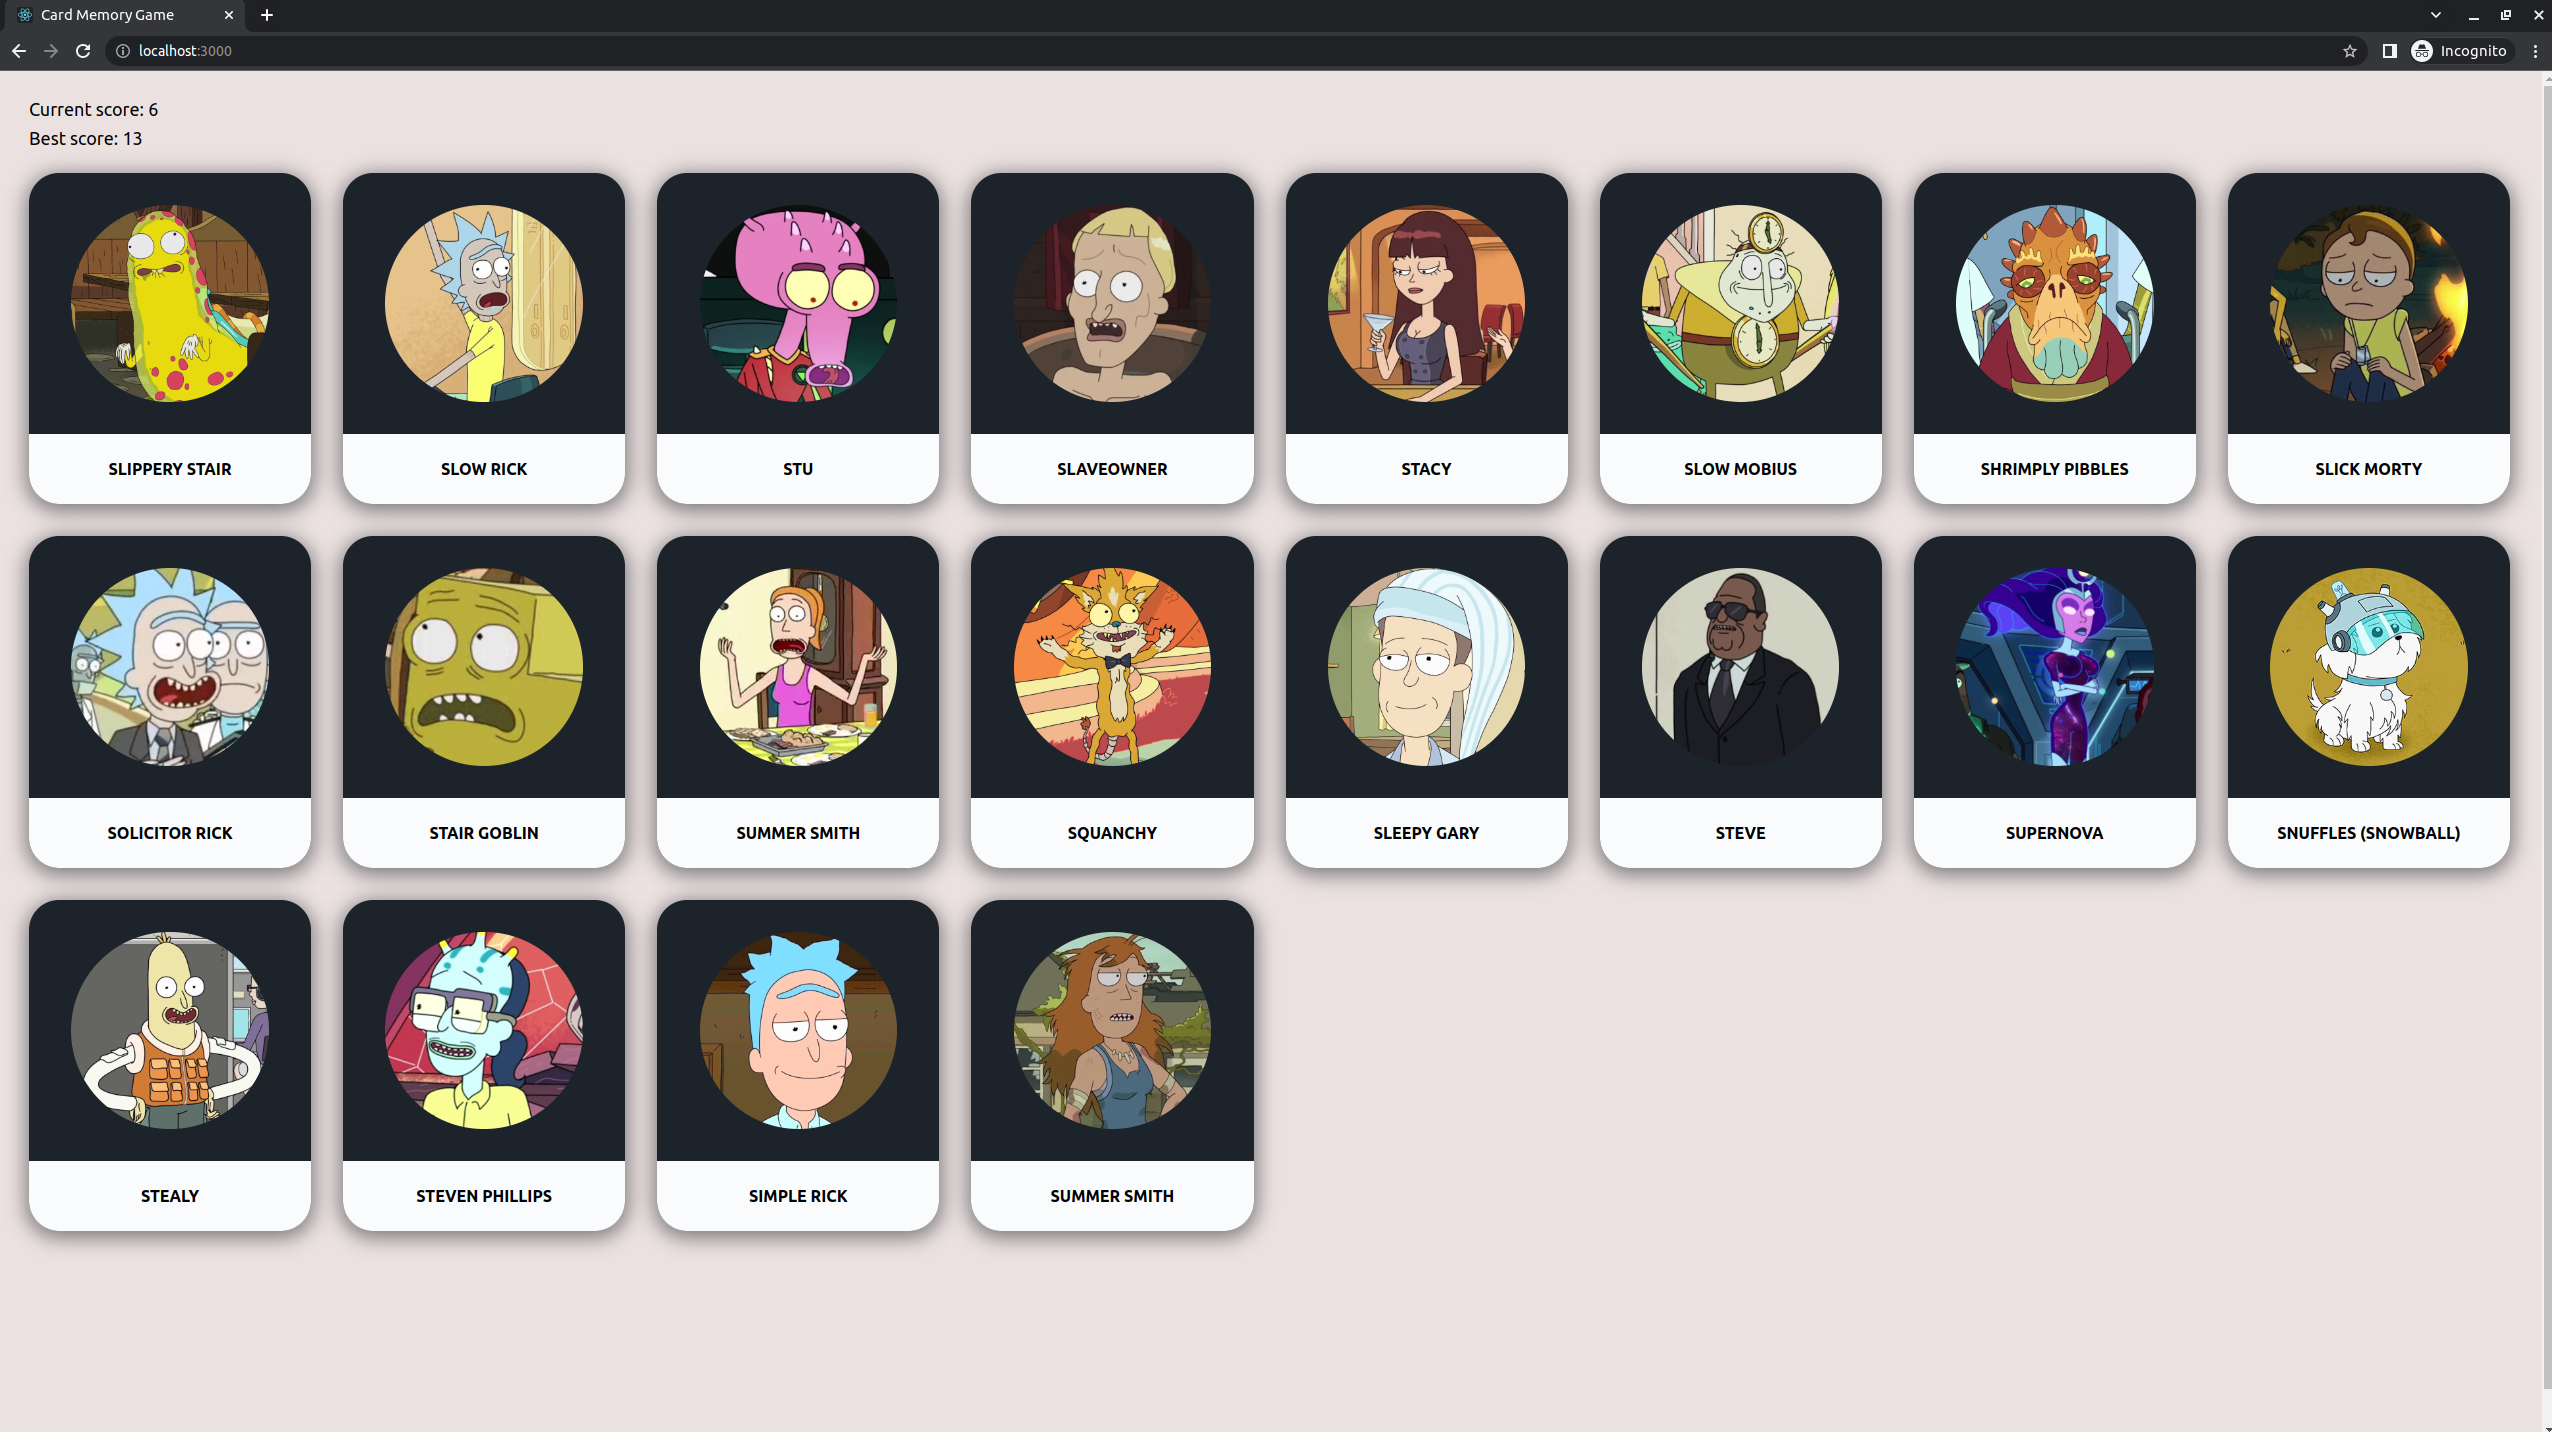
Save your changes to see the scoreboard in effect:
9. Final touches
Add the following final touches to App.js:
import React from 'react';
import './App.css';
import Board from './components/Board/Board';
import Scoreboard from './components/Scoreboard/Scoreboard';
import { shuffleArray } from './utils';

function App() {
  const [cardsData, setCardsData] = React.useState([]);
  const [clickedCardIds, setClickedCardIds] = React.useState([]);
  const [currentScore, setCurrentScore] = React.useState(0);
  const [bestScore, setBestScore] = React.useState(0);

  async function fetchData() {
    fetch(`https://rickandmortyapi.com/api/character?page=${Math.floor(Math.random() * 41)}`)
      .then((response) => response.json())
      .then((data) => {
        const shuffledArray = shuffleArray(data.results);
        setCardsData(shuffledArray);
      });
  }

  React.useEffect(() => {
    fetchData();
  }, []);

  function onCardClick(cardId) {
    if (clickedCardIds.includes(cardId)) {
      setCurrentScore(0);
      setClickedCardIds([]);
    } else {
      setCurrentScore(currentScore + 1);

      if (currentScore + 1 > bestScore) {
        setBestScore(currentScore + 1);
      }

      setClickedCardIds([...clickedCardIds, cardId]);
    }

    const shuffledArray = shuffleArray(cardsData);
    setCardsData(shuffledArray);
  }

  return (
    <div className="App">
      <header className="App-header">
+        <h1>Rick and Morty Card Memory Game</h1>
      </header>
      <div className="App-body">
+        <p>Get as many points as possible by clicking on a card only once!</p>
        <Scoreboard currentScore={currentScore} bestScore={bestScore} />
        <Board data={cardsData} onCardClick={onCardClick} />
      </div>
    </div>
  );
}

export default App;
And you should see the project header and intro paragraph appear:
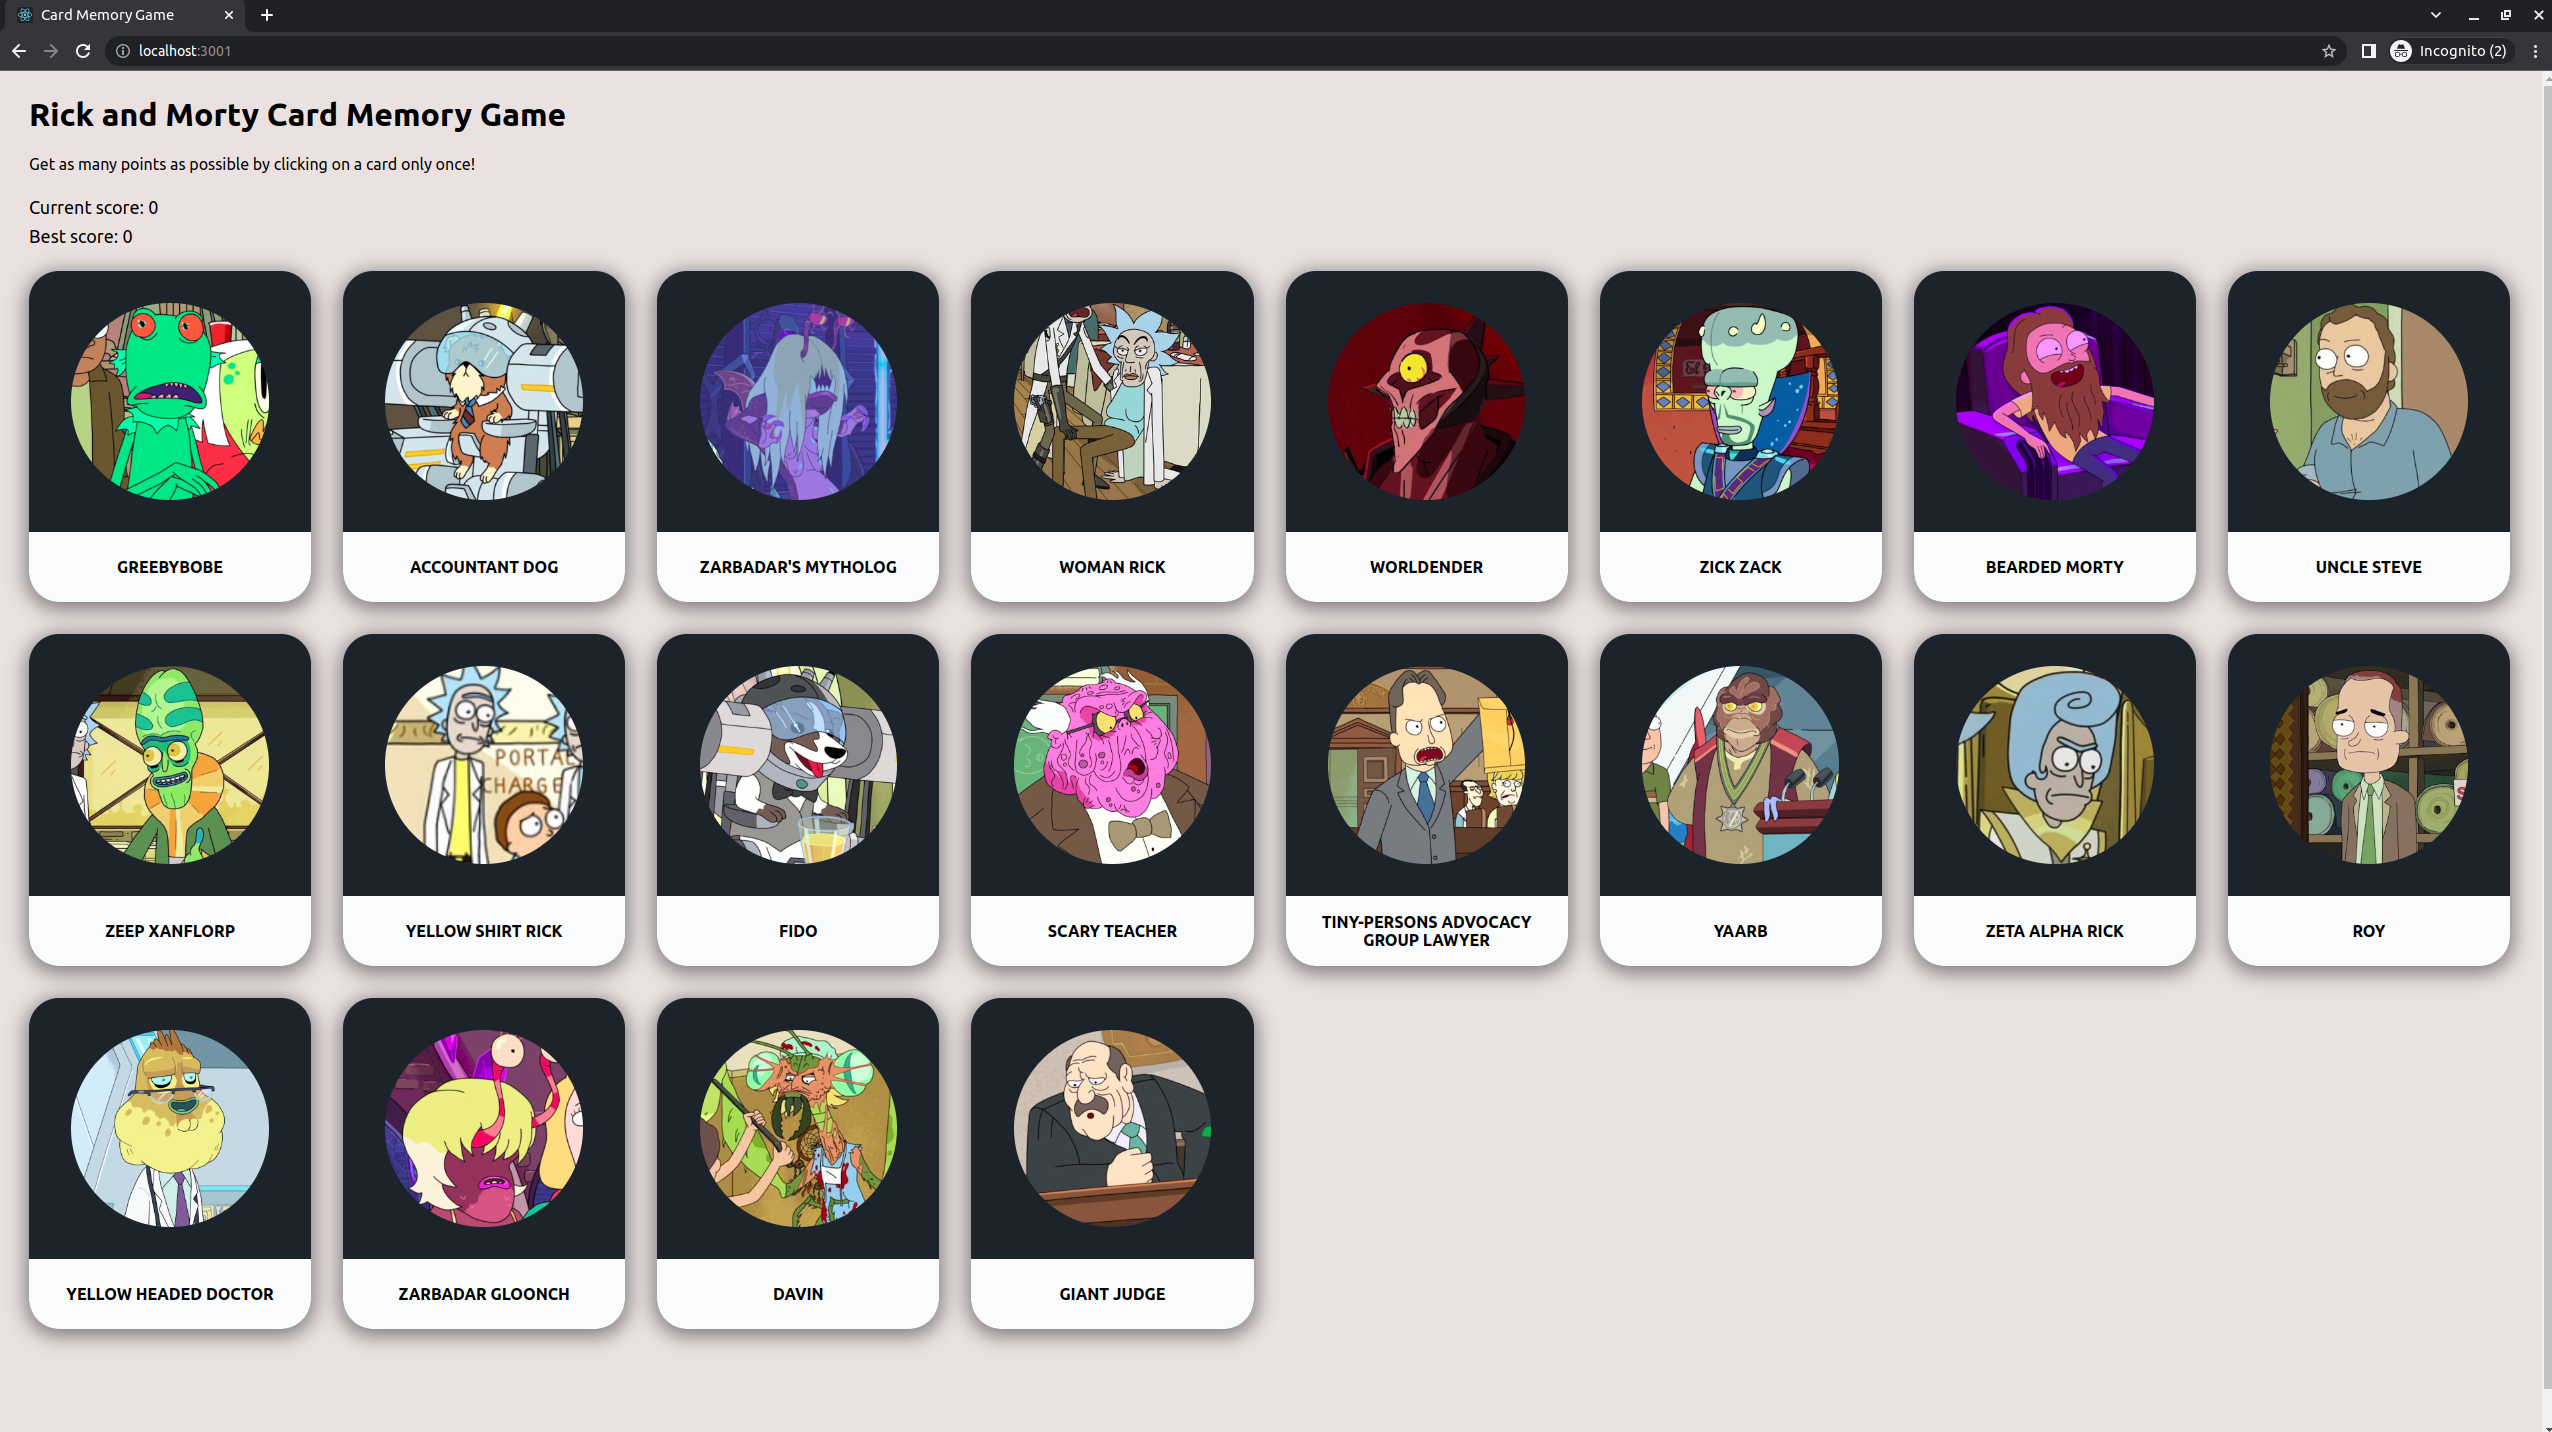
And that concludes the basic features of the Card Memory Game for the Odin Project.
Advanced features? Let me know.
This has been a long-write up just for the base requirements for the application. But if you find yourself eager to learn how to implement even the advanced features mentioned above, just let me know and I’ll spend time on it.
React JS sample project GitHub
You can view the GitHub repository here: GitHub repository
Live Demo
You can view the live demo of the card memory game here: https://card-memory-game-odin-project.netlify.app
You can also leave a comment about the project here: https://fullstackvault.xyz/projects/card-memory-game-karla.dmplg
What's Next?
When going through this tutorial, it's fine to copy the code. But you can go further by adding your own twist to it.
You can use your own design, add your own features, and so on. You can even write unit tests!
If you want to showcase your projects, submit them at https://fullstackvault.xyz/projects. Other members can vote and leave feedback. No project is too small - we all started somewhere!
Conclusion - React JS sample project
And that’s the step-by-step process for this card memory game!
If you have any questions, you can reach out to me on Twitter.
Other than that, happy coding!